Join the JOANN community and explore how-to projects or create your own. Get exclusive coupons and deals, and manage your shopping list on the go.
What are you waiting for?
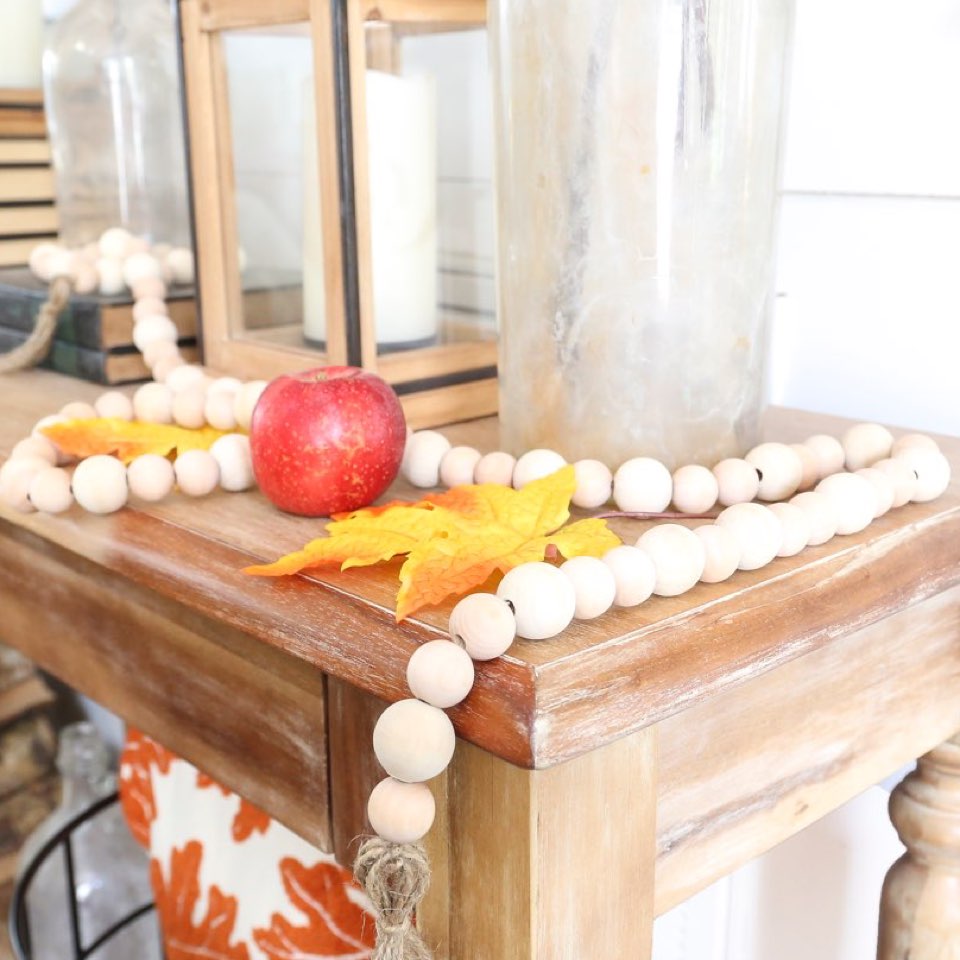
DIY Wood Bead Tassel Garland
This DIY wood bead garland is an easy project that will add texture and movement when you use it in your seasonal decor. Follow this easy tutorial to create one for your seasonal vignette.
Instructions
-
Step 1
 Unroll your jute twine giving lots of extra (about 5 ft). Tie off the end nearest the roll and begin stringing your beads. For this design I used 1 small- 1 big- 2 small- 1 big- 2 small. Then repeat this design until your desired length.
 -
Step 2
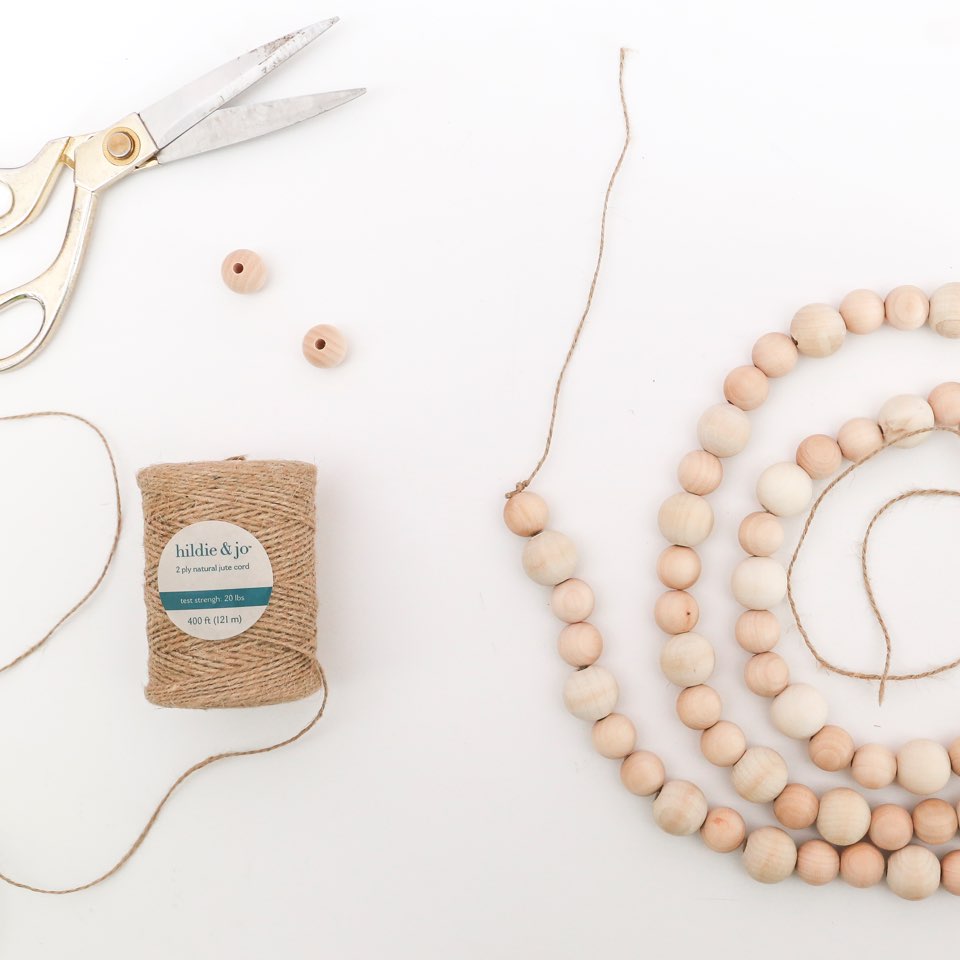 Now that you have strung all your beads you want to tie off the end and cut the twine. Make sure you leave enough room on each end to attach your tassels. Leave about 6 inches.
 -
Step 3
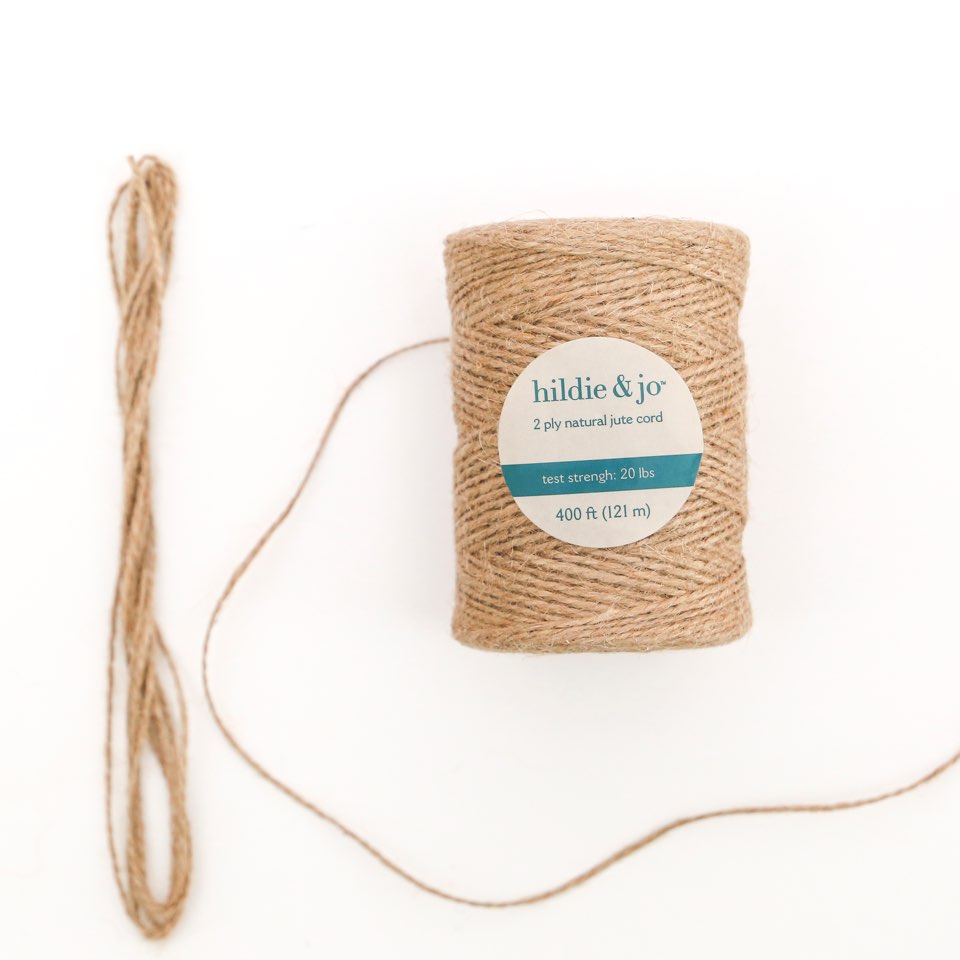 Next is making your tassel. Take your twine and gather it together as pictured- looping it into about 6 in loops.
 -
Step 4
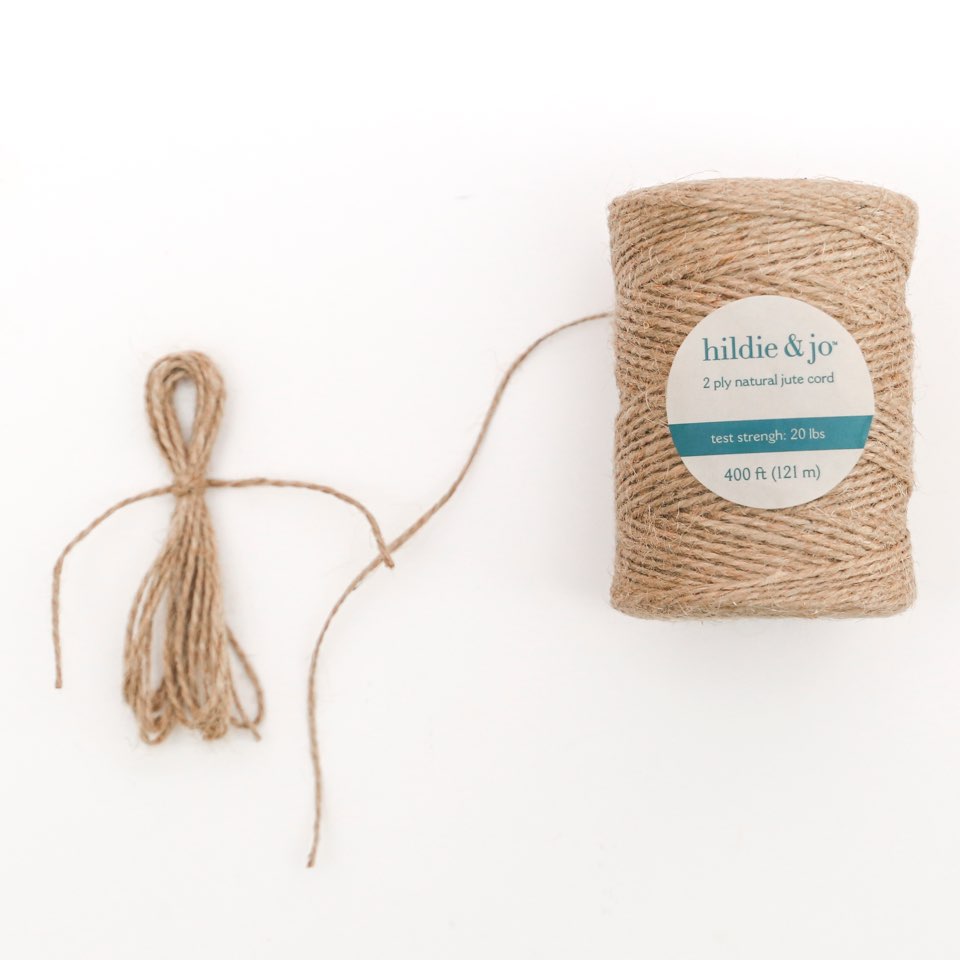 Next tie a piece of twine around your loops about 3/4 the way up.
 -
Step 5
 Cut the bottom of you loops- making tassel.
 -
Step 6
 Attach your tassel with the excess twine on your bead strand. Tie the twine through the top loops.
 -
Step 7
 Repeat steps 3-7 for your second tassel.
 -
Step 8
 Use it in your seasonal decor and enjoy!
- Supplies
- Natural Jute Twine
- 25 mm Round Wood Beads
- 20 mm Round Wood Beads
- Scissors
